Showing posts with label Candles. Show all posts

Tuesday, October 11, 2011

Bloody Candles


I found the candle holder at Goodwill for a $1.00 and spray painted it black. The taper candles where from the Dollar Tree, and I also purchased a red votive candle.
I started by lighting the taper candles and letting them melt down just a little then I held the red votive over the flame and let it melt/drip down the taper candles.

Check out the link parties I participate in HERE

Thursday, June 16, 2011

4th of July Candle Holder


 I found some 4th of July/Memorial Day stickers at Hobby Lobby while I was looking four some scrapbook stuff and I really liked them. Knowing I had an extra square candle holder at home. I knew right away what I wanted to do.
This was so easy it is just a square candle dish from the Dollar Tree and the clear stickers I found.

Check out the link parties I participate in HERE

Wednesday, June 15, 2011

GOD BLESS AMERICA Candles

Sorry about the lack of posts lately, I took a short break from my crafts after all the birthday and mothers day stuff. But I'm back now and have a few new easy 4th of july crafts I have been throwing together.

My original plan was to make USA candles. I had gotten 3 alter candles from the Dollar Tree awhile back but put it off due to the fact that it wasn't even spring yet. I found some 3D stickers and some flag paper at Hobby Lobby and changed my mind. I cut the 12x12 flag paper into 3 even pieces and taped them around the candles then stuck the stickers on. I think it could still use something but I'm not sure what, any ideas? Please let me know, I would love to hear them!
Check out the link parties I participate in HERE

Sunday, April 17, 2011

PB Knock off Candles

This idea originated at Christmas when I made some candles with sheet music tissue paper but I never took pictures before they got packed away. Well I needed some candles for Easter/Spring so here is a short tatorial on how to make them.

Materials:
Tissue paper (mine is from the dollar store)
Heat gun or hair dryer.
OPTION 1
1. Tape a piece of tissue paper to a piece of printer paper making sure that the tissue paper is the side that it will print on and print your image.
2. cut around your printed image making sure that the tissue paper will fit onto the surface of the candle.
3. Place tissue paper on candle so its where you want it (flat and even) hold in place tightly
4. Heat up so that the tissue paper just lightly disolves into the candle and TaDa!


OPTION 2
1. Purchase printed tissue paper cut the tissue paper to the exact diamiter and hieght of the candle.
2. Place tissue around candle flat and even, hold in place tightly (you can tape it but be careful when you get closer the taped edges)
3. Heat up so that the tissue paper just lightly disolves into the candle, working you way around the whole candle.

Check out the link parties I participate in HERE

Saturday, January 29, 2011

Entry Table

The tall vase/jar on the left is just a dollar store taper holder with a vase glued to the top. I tied some valentines ribbon to it and added some hearts (heart picks minus the pick) that I also got at the dollar store. (I plan on changing the ribbon and ingredients for each holiday I can.)
If you want to see how to make any check out the links
The Rose Pedal Candle Holder is HERE
The Topiary is HERE
The Frame with Art is HERE
The Love sign in the back and the 2 heart candle holders I got years ago at Gordmans, and the runner I got from Kohl's this year.

Tuesday, January 25, 2011

Rose Pedal Candle Holder

I found this idea HERE and thought it would be perfect for a valentines decoration. You can get a bag of rose pedals and glass candle holder at the Dollar Store. so it is super cheap to make, and you can make more then one with all the pedals you get.
Add a dot of hot glue to the bottom tip of the pedal and starting at the top of the candle holder attaching the pedal directly to the glass working your way all the way around. The next layer place pedals staggered from the first row and continue on till the candle is full making sure each row is staggered. The bottom row I attached to the bottom of the glass holder. Sooo Easy!!! I am going to make one with some red pedals next I will add a picture when I get it done.  

Check out the link parties I participate in HERE I am going to link this up on Monday

Friday, January 14, 2011

Tealight Holder Candle Wrap

I found this idea awhile ago on HGTV but just never got around to making one, I needed some more simple valentine decorations so I threw them together, so easy.
Materials:
Vellum
Hole Punch
Scrap paper (optional)
stamp (optional)
ribbon
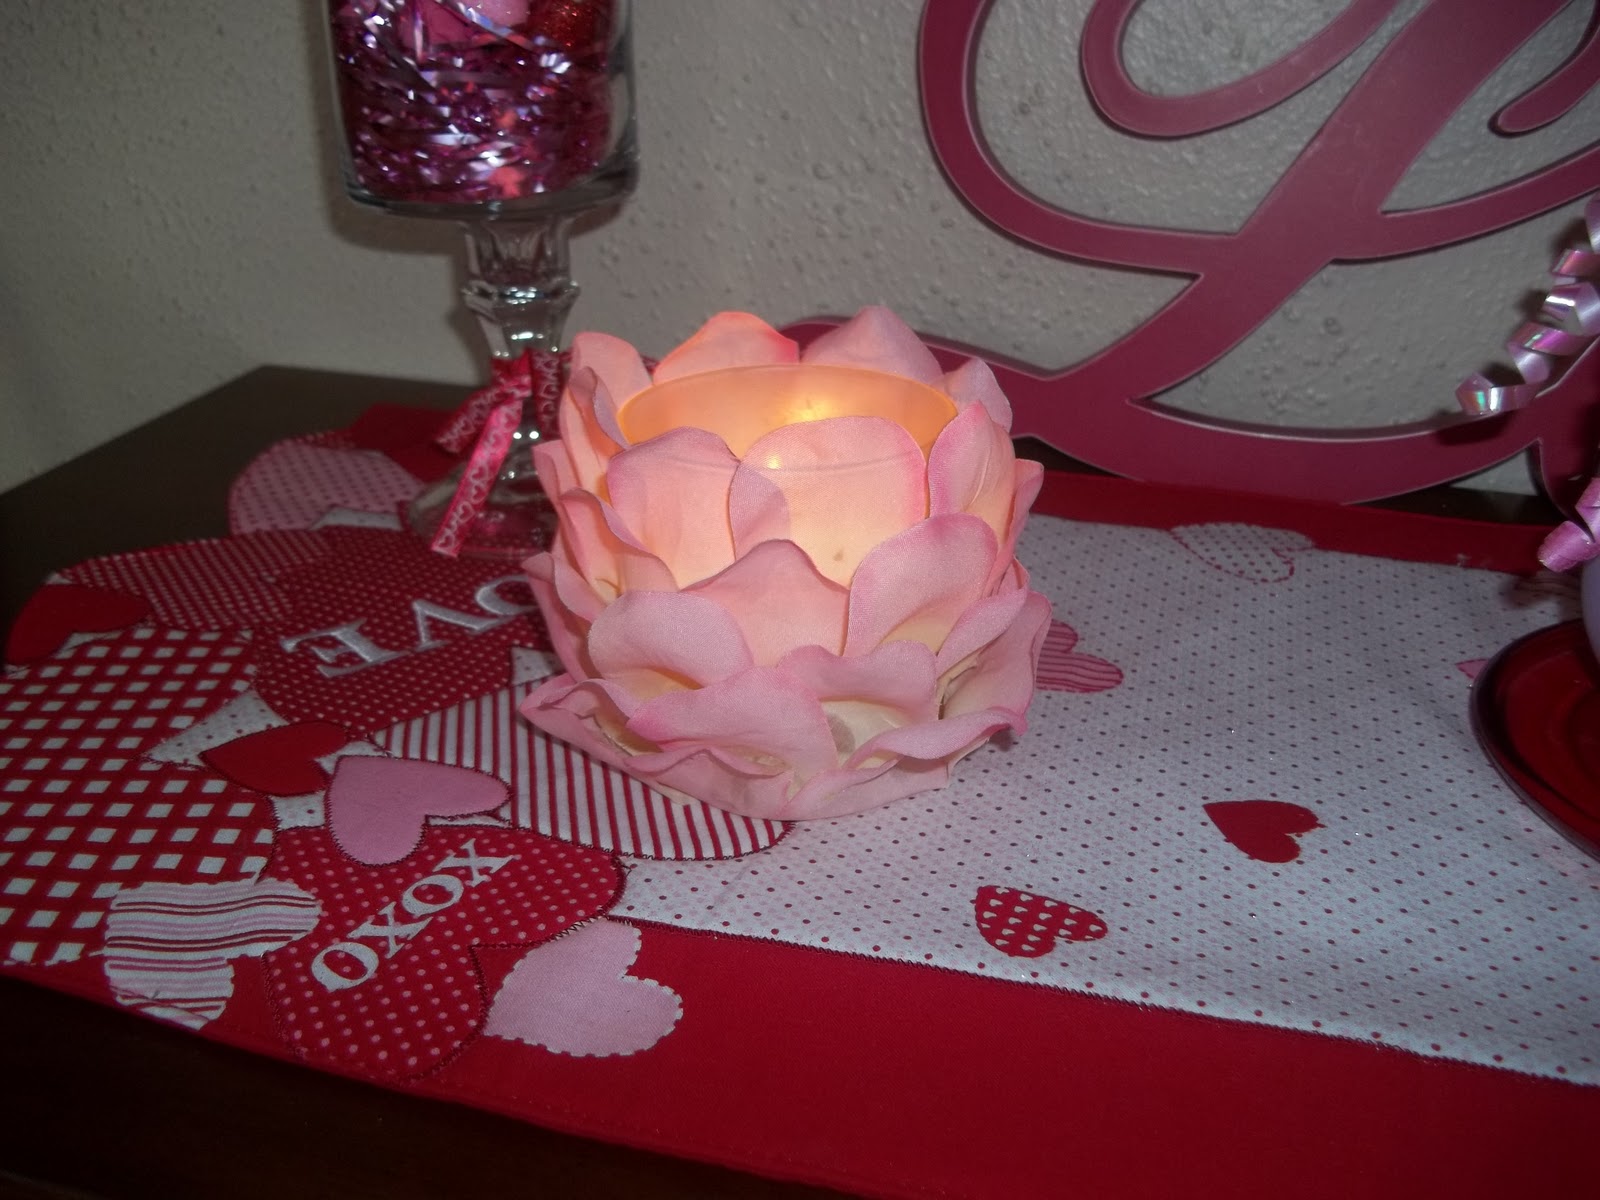
Cut 2 pieces of vellum to 6 1/2 by 3 1/2, round corners if you want, stamp images on one side of each vellum piece and let dry. Cut 2 pieces of scrap paper to 1 by 6 1/2 and glue or tape on bottom of vellum. lay vellum back to back and hole punch about half way up and tie together with ribbon. Place over votive cup and Voila!
You can also buy vellum with a design on it and only have to cut it out, hole punch, and tie with ribbon. 
NOTE:I used a votive cup but only put a fake tealight in it, I'm not sure if the votive would get to hot and melt the vellum?!?!

Monday, November 1, 2010

Fall Leaf Candles

I had gotten 2 bags of leaves from the dollar store not knowing exactly what I would be making. Then I saw some Pottery Barn knockoff leaf ideas Here and went to work creating my own.
Materials:
Bag of leaves (Dollar Store)
Raffia
Candle
hot glue
rubber band

Directions:
1. Put a rubber band around the candle to hold leaves in place.
2. Tuck leaves under rubber band (I secured them with just a dab of hot glue but you have to be quick cause it will melt the wax a little)
3. When all your leaves are on wrap raffia around a couple time and tie with a bow - remove rubber band. (again I secured the raffia bow with just a dab of hot glue).
4. last I added some small berry accents for more color.